iPhone Rear Camera Repair Price 2025 – Orange County
![]()
Introduction
Greetings from Phonebulance, your trusted partner for comprehensive smartphone solutions. Our commitment to delivering excellence is embedded in every service we offer, ensuring your smartphone concerns are met with skill and precision. Today, we are excited to introduce our 2025 Price List for iPhone Rear Camera Repair. Combining affordability with expert craftsmanship, our goal is to restore your device’s photography capabilities to their optimal state.
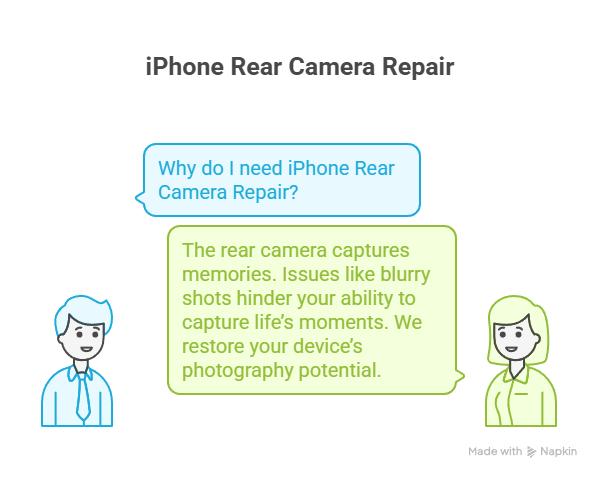
Why do you need iPhone Rear Camera Repair?
The rear camera of your iPhone captures the world in vivid detail, preserving memories and experiences. Unfortunately, issues can arise, affecting the performance and quality of your camera. From blurry shots to focus problems, a malfunctioning rear camera can hinder your ability to capture life’s moments with clarity. At Phonebulance, we understand the significance of a fully functional rear camera, which is why our Rear Camera Repair service is designed to seamlessly restore your device’s photography potential.
Price List – Rear Camera Repair
Contact Us for details.
Please be aware that the prices displayed on our website are not set in stone and may be adjusted as circumstances require.
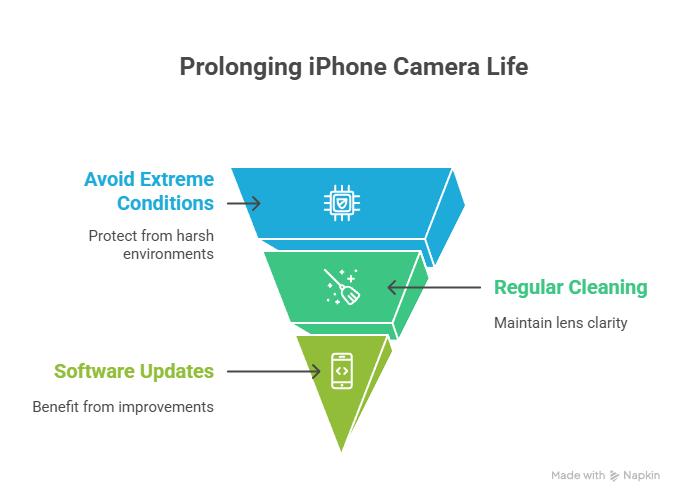
How did you avoid paying this fee?
Maintaining the functionality of your iPhone’s rear camera can be achieved through careful usage and protective measures. Avoid exposing your device to extreme conditions that could impact its internal components. Clean the lens and camera area regularly using gentle methods to prevent dirt or debris buildup. Ensure that your device’s software is up to date to benefit from any camera-related improvements. By adopting these practices, you can prolong the life of your rear camera and potentially avoid the need for repair.
Conclusion
At Phonebulance, we understand the essential role your iPhone’s rear camera plays in capturing life’s beauty, and we’re committed to ensuring your photographic experiences are restored to their fullest potential. Our 2025 Price List for iPhone Rear Camera Repair reflects our dedication to providing cost-effective solutions that rejuvenate your device’s camera capabilities. Trust in our expertise, rely on our experience, and allow us to seamlessly restore your iPhone’s rear camera functionality. Don’t let camera issues deter your photographic pursuits – reach out to us today and discover the convenience of our professional repair services. Your satisfaction remains our ultimate priority.
Need iPhone Rear Camera Repair?
If your iPhone 12 back glass is cracked, you’re not alone. Despite its sleek design and advanced features, the iPhone 12 is still vulnerable to accidental drops—and one of the most common repairs we see is cracked back glass.
In this article, we’ll break down:
- Why you should repair a cracked back glass
- How much it costs to fix the iPhone 12 back glass
- How to avoid paying high repair fees
- Your repair options (Apple vs. 3rd-party)
- Tips to prevent future damage
Why Is It Important to Repair a Cracked iPhone 12 Back Glass?
You might wonder: Can I keep using my iPhone with a cracked back? Technically yes—but it’s not a good idea. Here’s why:
- Water and dust resistance is compromised – even a small crack can allow moisture in, damaging internal components.
- Injury risk – sharp glass edges can cut your fingers during daily use.
- Wireless charging may stop working – cracks can interfere with the MagSafe coil embedded in the back.
- Resale value drops significantly – a cracked back decreases your phone’s value.
- Aesthetic appeal suffers – it’s still a premium phone, and appearance matters.

How much does it cost to repair the back glass of an iPhone 12?
The bad news for answering “how much does it cost to fix iPhone back glass” is that the cracked back glass is due to the user’s negligence and has nothing to do with the company’s services in the design and production of phones.
For this reason, it does not include a warranty for iPhone back glass repair service. So the answer to “how does apple repair back glass” question is out of warranty.
It is because of the high cost of the iPhone 12 back glass cracked repair that many users question how they can avoid paying this cost in any way. With all of this in mind, if you have an Apple Care Plus, you will have to pay $ 99. If you do not have Apple Care Plus, you will have to pay these costs for non-warranty iPhone 12 back glass repair:
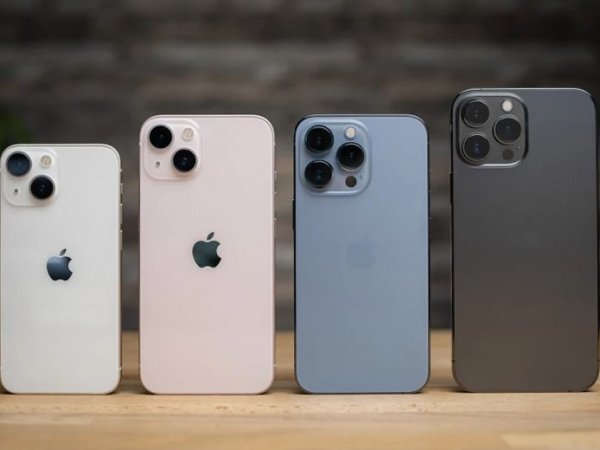
How did you avoid paying this fee?
As you can see, if you have a lot of damage to the back glass, you have to pay a lot of money to repair it. Therefore, it is wise to prevent iPhone 12 back glass cracked from happening.
You can simply use protective cases. If you do not like these cases and do not want to hide the elegance and beauty of the phone, use protective back glasses to avoid iPhone 12 pro back glass cracked.
You can call or text us for more details.
Concluding remarks
iPhone 12 back glass cracked price is very important because financial issues cannot always be ignored. Therefore, it is better to prevent this problem by using protective cases. However, if you are facing an iPhone 12 back glass broken situation, it is better to repair it so that your phone’s features, such as its waterproofness, are not affected.
In addition, since this repair does not include a warranty, if for any reason you do not want to use Apple’s official services, be sure to go to authorized and licensed technicians. For more info on iPhone repairs, click here and for more information about iPhone 12 back cracked repairing, you can contact.
Phonebulance is your one-stop center!
Want to get the most out of your smartphone? At Phonebulance, we’re your one-stop center for all things smartphone! Whether you’ve cracked your screen, dropped it in water, or it’s simply acting sluggish, our certified technicians can diagnose and fix a wide range of issues. We use top-quality parts and offer a [warranty period] warranty on repairs, ensuring your device gets back to peak performance. Don’t wait – contact us today or make an appointment to learn more about our services and keep your smartphone connected and functioning like new!
Here is the list of our smartphone repair services:
| Device | Starts from: |
| iPhone 8, 8 Plus | Contact Us |
| iPhone X, XS, XR, XS Max | Contact Us |
| iPhone 11 | Contact Us |
| iPhone 11 Pro | Contact Us |
| iPhone 11 Pro Max | Contact Us |
| iPhone 12 Mini | Contact Us |
| iPhone 12 | Contact Us |
| iPhone 12 Pro | Contact Us |
| iPhone 12 Pro Max | Contact Us |
| iPhone 13 Mini | Contact Us |
| iPhone 13 | Contact Us |
| iPhone 13 Pro | Contact Us |
| iPhone 13 Pro Max | Contact Us |
| iPhone 14 | Contact Us |
| iPhone 14 Plus | Contact Us |
| iPhone 14 Pro | Contact Us |
| iPhone 14 Pro Max | Contact Us |
| iPhone 15 | Contact Us |
| iPhone 15 Plus | Contact Us |
| iPhone 15 Pro | Contact Us |
| iPhone 15 Pro Max | Contact Us |

Can You Replace iPhone 12 Back Glass Yourself?
Technically yes, but here’s what you need to know:
- It requires specialized tools, such as a laser separator.
- You risk damaging internal components like cameras and wireless charging coils.
- DIY repairs void your warranty.
💡 Unless you have professional experience, we recommend trusting certified technicians.
How to Avoid Paying for Back Glass Repair Again
- Use a shockproof case – even a thin, transparent case offers major protection.
- Add a tempered glass back protector – similar to screen protectors, but for the rear.
- Handle with care – avoid placing your phone on hard surfaces unprotected.
Why Choose Phonebulance?
At Phonebulance, we’re your local go-to experts for all iPhone repairs. Here’s what sets us apart:
✅ Certified Technicians
✅ Top-quality parts
✅ [Warranty period] warranty on repairs
✅ Fast turnaround times (1–2 hours on average)
✅ Affordable prices with no surprise fees


We also offer repairs for:
Here is the list of our repair and fixing prices:
- iPhone LCD Screen Replacement
- iPhone Charging Port Replacement
- iPhone Battery Replacement (High Capacity)
- iPad screen replacement
- iPhone Back Camera Lens Replacement
- iPhone Rear Camera Repair
- iPhone Back Glass Repair Cost
📞 Call or text us today to get a free quote or make an appointment.

Services Areas:
iPhone Battery Replacement – Orange County, iPhone Battery Replacement – Laguna Niguel, iPhone Battery Replacement – Laguna Beach, iPhone Battery Replacement – Dana Point, iPhone Battery Replacement – San Juan Capistrano, iPhone Battery Replacement – Aliso Viejo, iPhone Battery Replacement – Lake Forest, iPhone Battery Replacement – Mission Viejo, iPhone Battery Replacement – Laguna Hills, iPhone Battery Replacement – San Clemente, iPhone Battery Replacement – Coto De Caza, iPhone Battery Replacement – Rancho Mission Viejo, iPhone Battery Replacement – Rancho Santa Margarita, iPhone Battery Replacement – Irvine
Final Thoughts
Don’t let a cracked iPhone 12 back glass become a bigger issue. Fixing it early preserves your phone’s performance, appearance, and resale value. Whether you’re covered by AppleCare or not, Phonebulance provides a fast, affordable, and trusted alternative to high-cost repairs.
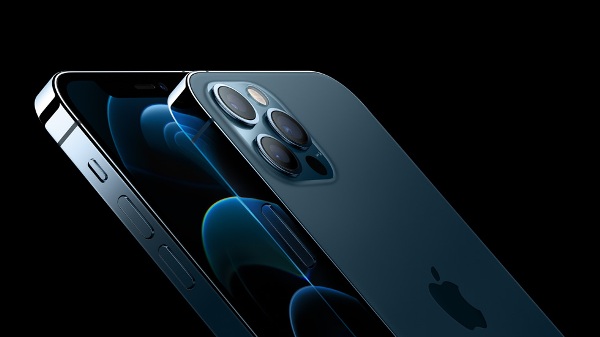
iPhone 12 Pro Max Back Glass Replacement Cost – Everything You Need to Know
The iPhone 12 Pro Max is a flagship device packed with premium features—and unfortunately, a back glass panel that’s prone to cracking or shattering. If you’ve damaged the back of your iPhone 12 Pro Max, it’s crucial to understand the repair options, pricing, risks, and best practices. Here’s a complete guide covering every aspect of iPhone 12 Pro Max back glass replacement costs and services.
fix iPhone and iPad screen
Why the iPhone 12 Pro Max Back Glass is So Expensive to Replace
Apple integrated the back glass of the iPhone 12 Pro Max with a Laser-welded frame. This means the back isn’t simply glued—it’s fused into the metal housing, making it significantly more labor-intensive to replace. The use of Ceramic Shield on the front doesn’t extend to the back, making it more vulnerable.
To replace the back glass, certified technicians often use laser separation machines, making it a high-skill procedure that isn’t easy for DIY repair.
Factors That Influence the Cost of iPhone 12 Pro Max Back Glass Repair
1. Genuine Apple Parts vs Aftermarket
Apple-authorized service providers use genuine parts but charge significantly more. Many third-party repair shops offer both options, with aftermarket parts costing 30–50% less.
2. Location of Repair Service
Prices vary by region. Urban areas and high-rent locations (e.g., Los Angeles, New York) typically charge more due to overhead costs.
3. Warranty and Technician Expertise
Reputable shops offer warranties and use laser machines for precise removal. Amateur repairs using heat guns or razor blades can damage the phone’s internal components.
4. Damage Extent
If the damage is limited to the glass, it’s cheaper. If the camera lens, MagSafe coil, or frame is also affected, costs rise quickly.
Tips to Avoid Future Back Glass Damage
- Use a Magsafe-compatible rugged case
- Install a tempered glass protector on the back
- Avoid placing your phone on rough surfaces
- Handle your device with dry, clean hands
- Don’t keep your phone in back pockets
Prevention is significantly cheaper than repair.
Conclusion: What’s the Smartest Way to Replace Your iPhone 12 Pro Max Back Glass?
If you’re out of warranty and not covered by AppleCare+, a trusted third-party repair center with laser technology is the most cost-effective option. Always verify:
- Technician experience
- Customer reviews
- Warranty policy
- Part quality (OEM vs aftermarket)
We recommend comparing local repair quotes before making a decision.
Frequently Asked Questions
Q: Can I replace the back glass of my iPhone 12 Pro Max myself?
DIY replacement is not recommended unless you’re trained and have access to a laser separation machine. Risk of damaging internal components is high.
Q: Is the back glass replacement waterproof?
Properly done replacements with quality adhesive and curing will restore most of the original water resistance, but it will not be as watertight as factory-sealed.
Q: Will Apple replace just the back glass?
Apple does not replace only the back glass. They replace the entire device enclosure, which is why their cost is significantly higher.
Ready to Repair?
Choose a certified local expert with a strong track record and clear pricing. Protect your iPhone 12 Pro Max’s performance and aesthetics without overpaying.
📞 Call or text us today to get a free quote or make an appointment.
