

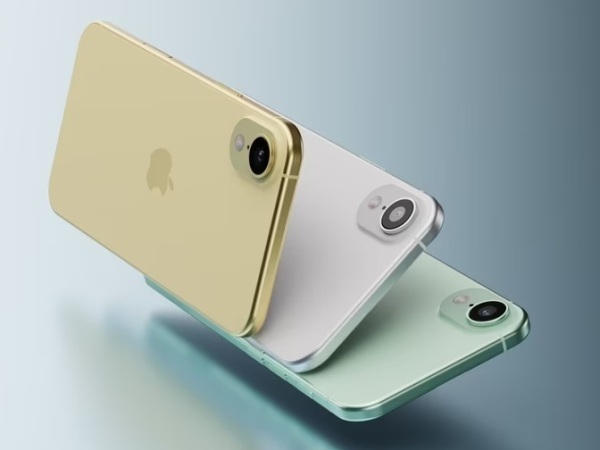
We live in a world of constant connectivity, and our phones are at the center of it all. But switching carriers can feel like a daunting task, especially when it comes to preserving your precious data. Enter the eSIM, a game-changer that simplifies the process. This guide will walk you through everything you need to know about eSIM transfers, ensuring a smooth transition without losing a single contact or photo.
What is an eSIM?
Think of an eSIM as a digital SIM card embedded directly into your phone. It eliminates the need for a physical card, making switching carriers or managing multiple phone numbers a breeze.
Traditional SIM Cards vs. eSIMs
Traditional SIM cards are those tiny plastic cards you’ve been popping in and out of your phone for years. eSIMs, on the other hand, are built-in and programmable. They offer the same functionality as a physical SIM but with added flexibility.
Benefits of Using an eSIM
Why should you embrace the eSIM revolution? Well, for starters, it’s incredibly convenient. You can switch carriers with a few taps on your phone, no more waiting for a new SIM card in the mail. It’s also perfect for travelers, allowing you to easily add local data plans without swapping SIM cards.
Why Transfer Your eSIM?
There are several reasons why you might want to transfer your eSIM. Perhaps you’ve found a better deal with a different carrier, or maybe you’re traveling abroad and need a local number.
Switching Carriers Made Easy
eSIMs make switching carriers remarkably simple. No more fiddling with tiny SIM cards or waiting for them to arrive. The entire process can often be completed digitally, saving you time and hassle.
Traveling Internationally with eSIMs
Imagine landing in a new country and instantly activating a local data plan on your phone. With an eSIM, this is a reality. You can easily purchase and install eSIM profiles from local carriers, avoiding expensive roaming charges.
Before You Begin: Preparing for Your eSIM Transfer
Before you jump into the transfer process, there are a few things you should do to ensure everything goes smoothly.
Check eSIM Compatibility
Not all phones and carriers support eSIM technology. Before you proceed, make sure your device and your new carrier offer eSIM functionality. A quick search online or a visit to your carrier’s website should provide the necessary information.
Back Up Your Data
This is crucial! Before any major phone changes, always back up your data. This includes your contacts, photos, videos, and any other important files. You can back up your data to the cloud or to a computer.
Gather Necessary Information
You’ll need some information handy during the transfer process, such as your account number with your current carrier and your new carrier’s eSIM activation details.

Step-by-Step Guide to eSIM Transfer
Now, let’s get down to the nitty-gritty. Here’s a general step-by-step guide to transferring your eSIM. Keep in mind that the exact process may vary slightly depending on your carriers and device.
Contacting Your Current Carrier
Start by contacting your current carrier and letting them know you want to transfer your eSIM. They will likely provide you with a QR code or activation code that you’ll need for the next step.
Contacting Your New Carrier
Next, contact your new carrier and inform them that you’d like to activate an eSIM on your device. They will guide you through their specific activation process, which usually involves scanning the QR code or entering the activation code provided by your previous carrier.
Installing the eSIM Profile
Once you have the necessary information, you’ll need to install the eSIM profile on your phone. This usually involves scanning a QR code or entering an activation code in your phone’s settings.
Troubleshooting Common eSIM Transfer Issues
While eSIM transfers are generally straightforward, sometimes things can go wrong. Here are a few common issues and how to troubleshoot them.
Activation Problems
If you’re having trouble activating your eSIM, double-check that you’ve entered the correct activation code or scanned the QR code properly. You may also need to contact your new carrier for assistance.
Network Connectivity Issues
After activating your eSIM, you might experience network connectivity issues. Try restarting your phone or checking your network settings. If the problem persists, contact your new carrier.
Data Loss Concerns
Data loss is a major concern when switching carriers. However, if you’ve backed up your data beforehand, you should be able to restore it easily.
Tips for a Smooth eSIM Transfer
Here are a few extra tips to ensure a seamless eSIM transfer experience.
Plan Your Transfer in Advance
Don’t wait until the last minute to transfer your eSIM. Give yourself plenty of time to complete the process and troubleshoot any potential issues.
Keep Your Old SIM Card Handy
It’s a good idea to keep your old SIM card handy until the eSIM transfer is complete and you’ve confirmed that everything is working correctly.
eSIM Transfer on Different Devices
The process for transferring an eSIM can vary slightly depending on whether you have an iPhone or an Android device.
iPhone eSIM Transfer
On iPhones, you can usually transfer an eSIM directly through the phone’s settings.
Android eSIM Transfer
Android devices also typically allow for eSIM transfers through the settings menu, though the specific steps may vary depending on the manufacturer and model.
The Future of eSIM Technology
eSIM technology is constantly evolving, and we can expect to see even more innovative features in the future.
Dual SIM Functionality
Many modern phones support dual SIM functionality with eSIMs, allowing you to have two phone numbers on a single device.
Embedded Universal Integrated Circuit Card (eUICC)**
eUICC is a technology that allows you to store multiple eSIM profiles on a single device, making it even easier to switch between carriers and data plans.
Conclusion
eSIM transfers have revolutionized the way we switch carriers and manage our mobile connectivity. By following the steps outlined in this guide, you can ensure a smooth and hassle-free transfer experience, keeping your data safe and sound. So, embrace the future of mobile connectivity and make the switch to eSIM today!

Phonebulance is your one-stop center!
Want to get the most out of your iPhone? At Phonebulance, we’re your one-stop center for all things smartphone! Whether you’ve cracked your screen, dropped it in water, or it’s simply acting sluggish, our certified technicians can diagnose and fix a wide range of issues. Contact us today or make an online appointment to learn more about our services and keep your smartphone connected and functioning like new!
Here is the list of our smartphone repair services:
- Apple iPhone
- Apple Watch
- Apple iPad
- Apple iPod
- Samsung Galaxy S Series
- Samsung Galaxy Note Series
Samsung Galaxy Tab - Google Pixel and Nexus
- OnePlus
- Other brands (LG, Motorola, HTC, Blackberry…)
Here is the list of our repair and fixing prices:
- iPhone LCD Screen Replacement
- iPhone Charging Port Replacement
- iPhone Battery Replacement (High Capacity)
- iPad screen replacement
- iPhone Back Camera Lens Replacement
- iPhone Rear Camera Repair
- iPhone Back Glass Repair Cost
Service Areas in Orange County South:
- iPhone Repair Orange County
- iPhone Repair Laguna Niguel
- iPhone Repair Laguna Beach
- iPhone Repair Dana Point
- iPhone Repair San Juan Capistrano
- iPhone Repair Mission Viejo
- iPhone Repair San Clemente
- iPhone Repair Rancho Santa Margarita
- iPhone Repair Irvine
0 Comments